Healing Stages of a Boil
Let me start off by saying that I’m writing what I wish I would have read before I had my first boil. I couldn’t really find any information on the web that outlined the stages of a boil. So after much research and my own experience, I came up with the 3 main stages of a boil you’re likely going to experience, so you’ll know what to expect.
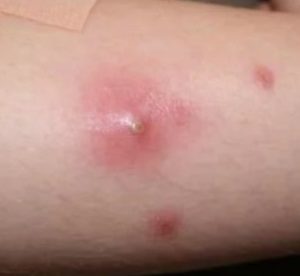
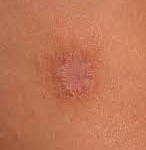
Boil Healing Stage 1: Infection
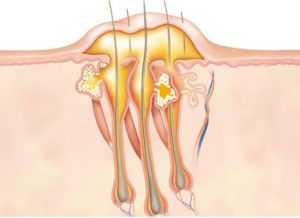 This is the beginning of a boil’s life. This is when staphylococcus bacteria enters the skin through a hair follicle, oil gland, or small scrape or cut, and begins infecting underneath the skin.
A small area around the infection will turn red, and it will start itching and feeling tender. After a few days, a bump full of pus will start to form and the irritation and inflammation will increase. The pressure builds and you wonder if you should just pop it. Whatever you do…DO NOT POP IT BY FORCE.
Squeezing or popping a boil before it is ready to open will likely lead to more infection, and you’ll be in more pain than before. Then you’ll wish you hadn’t. So trust me on this one. (Unless you visit your doctor, who can lance it for you.)
Treatment for Stage 1: Bringing it to a Head
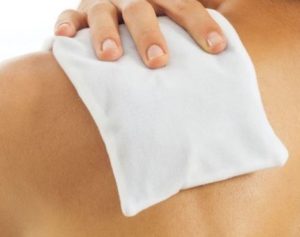
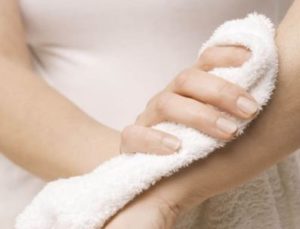 Once you realize you have a boil and it starts forming to a head, you’ll want to help it along by keeping the area warm and moist throughout the day with a heat compress. The heat helps the blood vessels expand, which encourages the boil to come to a head quicker.
Just use a warm, wet washcloth and place it over the boil for 15 minutes at a time. Do this 3 or 4 times each day until the boil opens and starts draining (stage 2).
Boil Healing Stage 2: Opening and Draining
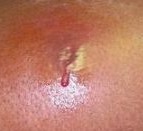 After a week or, your boil should start to open naturally on its own, and pus should start draining from the boil. This is a good thing, and it needs to happen for your boil to heal. There may be a little blood mixed in with the drainage, but this is normal. (Disclaimer: If you’re bleeding profusely – go see a doctor! But that’s not likely, so please don’t panic.)
It’s hard to give this stage a timeline because it really depends on several factors, such as the severity of the infection, how fast your body heals, etc. But give it a week or so before it really starts to dry up and the pus drains.
Treatment for Stage 2: Draining the Boil
 Promote Drainage: Once the boil is draining on its own naturally, you can assist the draining pus by continuing to place a warm wet washcloth on the boil as you were before for a few days afterward. You can gently press around the boil to encourage the drainage, but be very careful not to use too much force. You don’t want to cause a rupture and induce more infection.
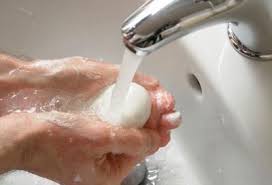 Keep it Clean: Clean the area several times a day, or as needed. Bacteria from a draining boil is highly contagious in spreading infection to others, or even yourself on other parts of your body. It is best to use a natural, antibacterial soap to wash the area thoroughly. You should also change the bandage each time you clean your boil.
Health Tip: Wash your hands thoroughly before and after so you don’t spread infection.
Home Remedies for a Boil in Stage 2:
There are some great home remedies you can apply to your boil to help relieve some of the itching and irritation, and speed up the healing process.
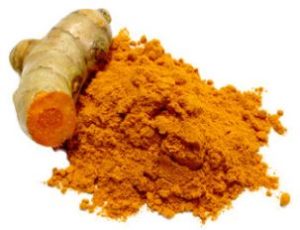 Turmeric:
Turmeric has been used in Eastern medicine for centuries. Its all-natural, anti-inflammatory properties help soothe the symptoms of a boil, and helps it heal quicker.
It’s best to make a turmeric paste that you can apply to the boil. Just mix turmeric powder with water (you can also use ginger) until you get a pasty consistency, and then rub it on the boil gently.
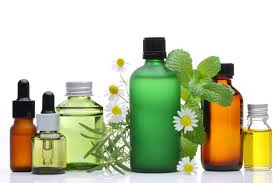 Natural Oils:
Castor Oil, Neem Oil, and Tea Tree Oil are all very beneficial for treating a boil. They provide anti-bacterial and anti-inflammatory properties that can help relieve the pain, assist in the healing process, and keep the area clean from bacteria all at the same time. The easiest place to find these oils would be at your local health foods store (Whole Foods, Natural Grocers, etc.).
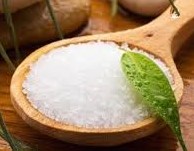 Epsom Salt:
Soaking your boil in Epsom salt is also a great way to help the boil in the draining process and assist in drying out the pus. Its healing properties are also beneficial, as well as it helping the area to stay bacteria free.
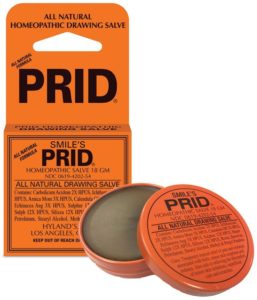 Drawing Salve:
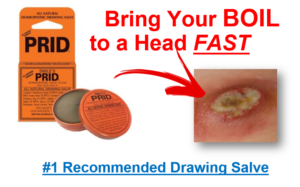
A drawing salve helps the infection and pus come to the surface so that it speeds up the healing process. It works by absorbing into your skin and softening the tissue, as well as increase blood circulation. We recommend using PRID Drawing Salve because it’s all natural, and has been working for people for over 50 years. (Click the picture to learn more about PRID Drawing Salve.)
Boil Healing Stage 3: Final Stage (Scab and Scar)
 Most boils heal without a problem after about 2 or 3 weeks of being treated properly. After about week 2, the pus should start drying up and you may experience some minor scabbing. Don’t pick or peel off the scab, as this will increase the likely hood of scarring.
Most boils won’t leave much of a scar, if at all, but you could use Mederma® to minimize scarring.
Once you make it to this stage, you’re home free. Now it’s all about prevention.
 How to Prevent Boils from Forming
1.) Practice good hygiene. Make sure you exfoliate the vulnerable areas (armpits, groin, buttocks) by scrubbing well with a loofah or bath sponge, and use an antibacterial soap to kill potential boil-causing bacteria that may be on your skin.
2.) Don’t share towels or washcloths. Before you use any towel or washcloth, make sure it is washed in hot water with antibacterial laundry detergent or bleach.
 3.) Don’t share razors. This is a bad idea. Razors cause micro-cuts and bacteria from another person’s skin can easily get underneath your skin.
Conclusion:
Hopefully outlining these 3 main boil stages will give you an idea of what to expect if you’ve never had a boil before. Keep in mind that each person’s experience with a boil is different. Some have really bad infections that turn into a carbuncle (cluster of boils), while others go away quickly without any complications.
Whatever the case may be, make sure you remember not to pop the boil and to follow these steps for treating a boil so you can get rid of it quickly with as little pain as possible.